3 min to read
Securing SSH: Implementing Basic Security Measures to Harden the SSH Port
A Step-by-Step Guide to Enhancing Your SSH Security
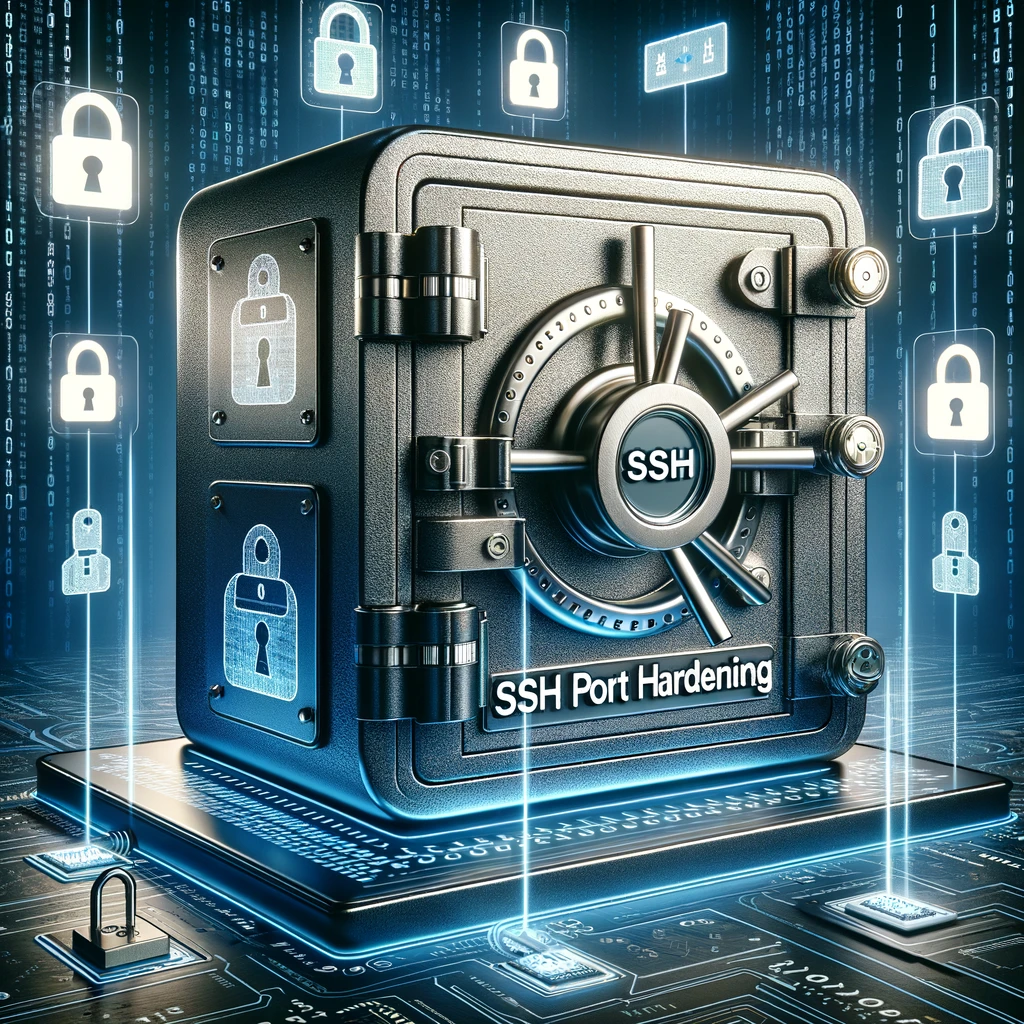
🔒 Securing SSH: Implementing Basic Security Measures to Harden the SSH Port
Back in 2021, I wrote a blog post about manually hardening SSH configuration on a Raspberry Pi. While that guide was useful, I realized an automated approach would make the process more convenient and efficient. That’s why I created PiSecure-SSH—a powerful, user-friendly bash script designed to automate SSH security on your Raspberry Pi.
In this post, I’ll introduce you to PiSecure-SSH, detailing its features, setup process, and usage. Let’s dive in! 🚀
Why Secure Your SSH? 🔑
Securing your SSH port is crucial in preventing unauthorized access to your system. By implementing basic security measures, you can significantly reduce the risk of cyber threats. PiSecure-SSH aims to make this task effortless.
Features of PiSecure-SSH 🌟
PiSecure-SSH offers a streamlined solution to secure your Raspberry Pi’s SSH access. Here are its key features:
- User Management: Adds a new user with a custom username and password.
- Sudo Privileges: Grants sudo privileges to the new user.
- SSH Configuration: Adjusts SSH settings for enhanced security.
- Custom Port: Allows modification of the SSH port to a custom value.
- Service Restart: Restarts the SSH service to apply changes.
Setting Up PiSecure-SSH 🛠️
Before we begin, ensure you have a Raspberry Pi running Raspbian or a compatible OS, along with root or sudo access to the device.
Installation 📥
-
Clone the PiSecure-SSH repository:
git clone https://github.com/PKHarsimran/PiSecure-SSH.git -
Navigate to the PiSecure-SSH directory:
cd PiSecure-SSH -
Make the script executable:
chmod +x secure-ssh-setup.sh
Using PiSecure-SSH 🚀
- Edit the Script:
- Open
secure-ssh-setup.shin a text editor. - Replace the placeholders for
USERNAMEandPASSWORDwith your desired username and a strong password.
USERNAME="your-username" PASSWORD="your-strong-password" - Open
- Uncomment Relevant Lines:
- Depending on your system (Debian/Ubuntu or CentOS/RHEL), uncomment the appropriate lines for adding the user to the sudoers group and restarting the SSH service.
# Uncomment for Debian/Ubuntu systems # usermod -aG sudo ${USERNAME} # service ssh restart # Uncomment for CentOS/RHEL systems # usermod -aG wheel ${USERNAME} # systemctl restart sshd - Run the Script:
- Execute the script as root or with sudo privileges:
sudo ./secure-ssh-setup.sh - Apply Changes:
- The script will create a new user, grant sudo privileges, and apply the recommended SSH settings. The SSH service will be restarted to apply these changes.
- Test the Configuration:
- Test the new SSH setup by logging in with the newly created user and the custom SSH port.
Conclusion 🎉
PiSecure-SSH simplifies the process of hardening your Raspberry Pi’s SSH configuration. By automating the steps outlined in my 2021 blog post, PiSecure-SSH saves you time and ensures consistent security across your devices. Give it a try and protect your Raspberry Pi with ease.
Explore the PiSecure-SSH project on GitHub and start securing your SSH today! 🔐
Your insights are invaluable in improving our security solutions. Stay secure! 🔒


Comments